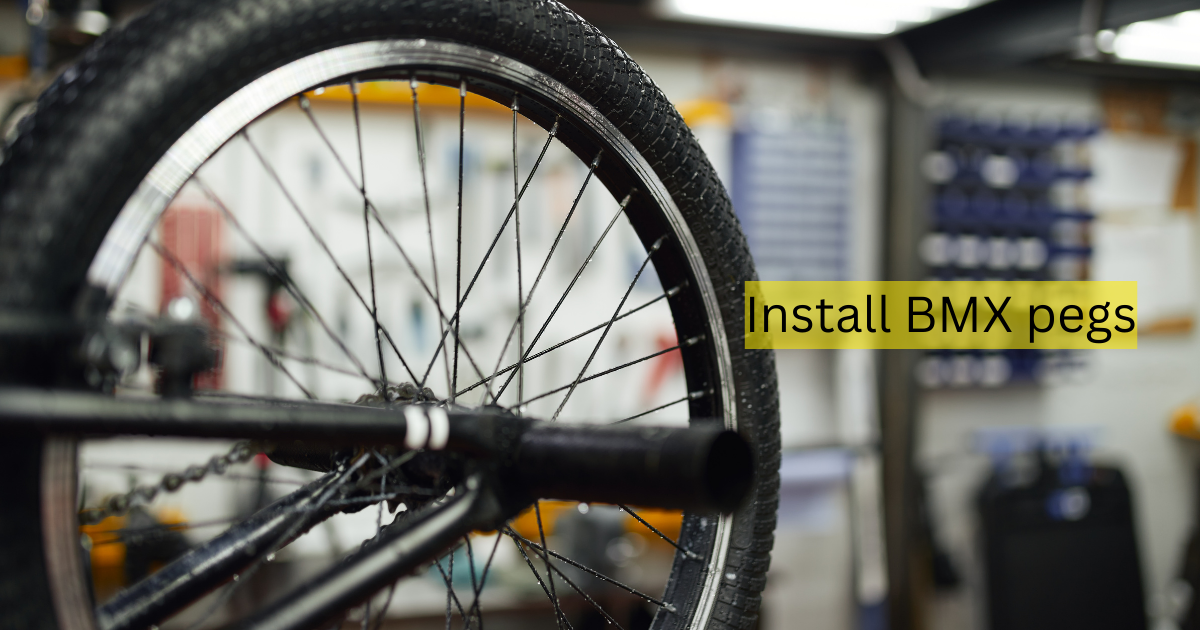
BMX biking is more than just a sport; it’s a way of life, a means of self-expression, and above all, a passion that resonates with enthusiasts worldwide. One essential element of this sport that no dedicated rider can ignore is the use and installation of BMX pegs. These pegs unlock greater flexibility, versatility, and an exhilarating biking experience. In this guide, we will walk you through the steps to properly install BMX pegs, allowing you to take your biking adventures from incredible to truly awe-inspiring.
If you’re new to the world of BMX or have recently become interested in performing stunts, you may be curious about what exactly BMX pegs are. Well, BMX pegs are cylindrical attachments that connect to the axles of your bike wheels. They serve as a crucial tool for executing various tricks and stunts that cannot be accomplished through simple pedaling alone.
Whether you’re a beginner or an experienced trickster, this guide provides clear instructions and valuable tips to help you install BMX pegs. Rest assured that you’ll find the right guidance here to enhance your skills and knowledge.
- Choosing the Correct BMX Pegs: Prior to beginning, it is important to determine which type of pegs are appropriate for your bike.
- Getting the Tools You Need: To successfully complete the installation process, there are a few specific tools you’ll need. We’ve compiled a checklist to help ensure you have everything necessary for the job.
- Installation Process: Once you have met the necessary prerequisites, we will guide you through a simple and straightforward step-by-step installation process.
- Maintenance Tips: Finally, we want to emphasize the importance of proper maintenance for your pegs. By following these valuable care tips, you’ll be able to keep shredding the streets in style for a long time.
Choosing the Right BMX Pegs for Your Bike
When it comes to BMX pegs, customization is key. Purchasing them separately from the bike allows you to tailor them to your personal preferences and riding style. However, not all pegs are equal, so knowing what to consider when buying BMX pegs can greatly enhance your biking experience.
When choosing pegs, it’s important to consider the material they’re made of. The three most common options are steel, aluminum, and plastic. Steel pegs are incredibly durable but can be quite heavy. These are often favored by street riders who put a lot of stress on their pegs. Aluminum pegs, on the other hand, are lighter in weight and work well for park, flatland, and beginner riders. Lastly, there are plastic or ‘sleeved’ pegs which prioritize speed and smooth grinding over durability.
Next, let’s consider the length and diameter of the pegs. Generally, BMX pegs come in a range of 3.5 to 4.5 inches in length, although some may extend up to 6 inches. Longer pegs offer more space for performing tricks and provide better leverage when standing up, but it’s worth noting that they can add weight to the bike and make it slightly more challenging to handle. When it comes to diameter, most BMX pegs have a standard size of 1.5 inches. This diameter strikes a good balance between stability and convenience during rides.
Lastly, consider the type of threading that the pegs require and ensure compatibility with your bike’s axle. BMX bike axles commonly have either 14mm or 3/8-inch threads. Before purchasing pegs, make sure to verify which type your bike uses.
By considering these factors, you can ensure a more enjoyable riding experience and avoid frequent visits to the bike shop.
Essential Tools Needed for Installing BMX Pegs
Before you begin the installation process for BMX pegs, it’s important to gather some essential tools. Without these tools, the process can be challenging and frustrating. Here is a list of necessary tools that will make your BMX peg installation successful:
To perform this task, you will require a socket wrench or an Allen wrench set. These tools are essential for loosening and tightening the axle nuts that secure the wheel of your bike. The appropriate size of wrench usually ranges between 15mm to 17mm, depending on the size of your bike’s axle nut.
- The socket wrench provides a sturdy grip, making it perfect for tackling tight nuts, especially when it’s important to avoid stripping them.
- If you ever come across hex-head screws or bolts, you’ll need an Allen wrench. Sometimes called Allen keys or hex keys, these tools come in various sizes to accommodate different hexagonal recesses.
A high-quality grease is the next essential item. You might be wondering why grease is necessary. Well, by applying it to the threads of your axle before attaching the pegs, you can prevent rusting and avoid any future difficulties with removing the pegs.
In addition, having a cleaning cloth and a bike stand can be useful. Wiping down the axle before attaching the pegs and using a stand to stabilize your bike while you work can greatly simplify and expedite the task.
Having a peg-specific tool can be useful in certain cases. High-end brands sometimes provide their own specialized tools for easy installation of their particular pegs.
Don’t forget to keep the instruction manual that comes with your BMX pegs in your toolbox. This guide contains specific instructions designed for your particular pegs, detailing how and where to attach them.
Preparing Your Bike for Peg Installation
Before you begin attaching the pegs to your BMX bike, it’s important to properly prepare and get your bike ready for the installation. This step is equally as important as the actual installation process because it establishes a foundation for a smooth and efficient experience.
Before installing the peg, it is important to have a clean bike. Make sure to remove any dirt or debris from the axle where the peg will be attached. You can use a soft cloth to gently wipe away any dirt. A clean axle ensures that the peg will fit tightly and securely. If there is stubborn grime, you can use a mild bike cleaner to remove it.
Cleaning Your Axle
- If the grime on your bike is particularly stubborn, you can try using a small amount of gentle bike cleaner on a cloth to thoroughly clean the axle.
Afterward, carefully inspect your axle for any indications of damage such as rust or bending. If you notice any damage, it is important to address it promptly. Damaged axles can hinder proper installation of pegs and potentially pose a safety risk.
Before you start installing the pegs, ensure that your bike is stable and securely positioned. It’s important to prevent any accidents or mishaps during the process. Using a professional bike stand can be especially useful in keeping your bike steady while you install the pegs.
Taking the time to prepare your bike may feel like an extra step, but it’s actually a precautionary measure that can prevent future inconveniences. Once your bike is properly prepared, you can proceed with confidence to the actual installation process.
Step-by-Step Guide to Installing BMX Pegs
Ready to take your BMX riding to the next level? Great! Installing BMX pegs is actually quite simple, and you can do it yourself. With a few easy steps, your bike will be ready for all those jumps, tricks, and grinds in no time. So let’s dive right into the installation process and get you started.
Here is a step-by-step guide on how to install BMX pegs:
- To begin installing BMX pegs, start by removing the nuts from the bike axle. This step is crucial and may require either a ratchet or a wrench, depending on your bicycle model.
- Now, carefully slide the peg onto the axle. Make sure that the holes on the peg align correctly with the axle. The hole on the peg should be slightly larger than the axle for a proper and secure fit. If you find that the peg does not slide in smoothly, do not try to force it. Instead, double-check to ensure that the hole and axle are compatible with each other.
- Next, secure the peg by reattaching the nut. Once you have positioned the peg on the axle, slide the nut onto the threaded end of the axle. Then, use either a ratchet or a wrench to tighten the nut while ensuring that you hold the peg steady in place.
- Make sure the peg is firmly attached. Test the newly attached peg by giving it a gentle shake to ensure it is securely fastened. If you feel any wobbling or slipping, tighten the nut until the peg is completely stable.
- To install pegs on both sides of your bicycle, simply repeat the same process on the other side. Follow the steps mentioned earlier to install the peg securely.
That’s it! Your BMX pegs should now be securely installed, improving your bike’s performance and enhancing your riding experiences. Remember, the quality of your BMX ride depends on the performance of your bike. Well-installed pegs play a significant role in achieving optimal performance.
Common Mistakes to Avoid When Installing BMX Pegs
To ensure optimal performance and safety while riding, it’s crucial to avoid common mistakes when installing BMX pegs. Paying attention to these details will strengthen the installation process, enhance your biking experience, and prevent any unnecessary setbacks.
- Using the wrong size pegs can cause problems while riding. It’s important to match the diameter of the peg with your bike’s axle size. If the pegs are either too large or too small, they won’t fit properly and may lead to issues during your ride.
- Finding the right balance is crucial when tightening the pegs on a bike. While it’s important to ensure a secure fit for safe riding, over-tightening can result in damage to the bike’s axle or threads on the pegs. It’s best to exercise moderation and accuracy, tightening them just until they are snug.
- Neglecting to take axle length into account can lead to a faulty installation. If the axle falls short and cannot adequately accommodate the peg, this will result in an improper fit and potentially compromise overall stability.
- Neglecting Regular Checks: It is important to regularly inspect and maintain your pegs after installation to prevent wear and tear. By consistently monitoring their condition, you can identify any issues and promptly replace or repair them, ensuring ongoing functionality and safety.
To ensure your equipment is working at its best, it’s important to be aware of common pitfalls during the peg installation process. When dealing with BMX bikes, safety should always be the top priority. After ensuring safety, focus on functionality and performance to optimize your riding experience.
Tips for Properly Adjusting and Tightening Pegs
Once you have successfully installed your BMX pegs, it is important to ensure they are adjusted and tightened correctly. Making minor adjustments can greatly enhance your riding experience.
Before adjusting anything, it’s essential to have a clear understanding of what needs to be done. The pegs should be secure enough to withstand force without causing any damage to the bike’s axle threads. It’s crucial to find the right balance in adjusting them. Here are a few tips that can help you master this task successfully.
- Ensure evenness: Once the pegs are installed, carefully check if they are level and evenly adjusted. You can easily do this by visually examining them. In case you notice any unevenness, simply adjust the shorter peg until both are perfectly level.
- Check the Tightness: After aligning the pegs evenly, assess their tightness. They should be secure but not excessively tightened. To determine this, try spinning the pegs by hand. If there is any movement, they need to be tightened further.
- Use the appropriate tool: It’s important to always use a peg wrench or socket that fits properly for adjusting the pegs. Using the correct tool will prevent any damage to the pegs or threads on the axle.
- Take your riding style into consideration when adjusting the pegs on your bike. For aggressive BMX riders, it may be necessary to tighten the pegs more than those who use them for casual riding purposes.
For optimal performance, it is important to regularly check and adjust your bike. Periodically inspect the pegs and tighten them if needed. This maintenance not only ensures that the pegs last longer but also enhances safety. So, while the excitement of BMX riding lies in the experience itself, it’s crucial to give your bike some tender loving care for it to thrive!
How to Remove and Replace BMX Pegs
Once you’re accustomed to the installation process of BMX pegs, understanding how to remove and replace them is equally valuable. Over time, these pegs may require replacement due to regular use or for an upgrade. In this section, we’ll guide you through a simple step-by-step process.
- To start, you’ll need to loosen the axle nuts. Grab your ratchet and find the appropriate socket size. Then, turn the ratchet counterclockwise to effectively loosen the nuts.
- After loosening the nuts, you should be able to slide the peg off the axle with relative ease. However, if it proves stubborn, you can apply a penetrant to help facilitate its removal.
- To ensure a smooth replacement process, it’s important to check that the axle threads are undamaged before removing them. Damaged threads can complicate the replacement and lead to additional issues.
If you want to remove the BMX pegs, you can easily replace them. It’s important to follow the instructions for installation correctly. Here is a reminder of the process:
- Lastly, make sure that the BMX peg is securely fastened. It should not rotate freely. You can check this by attempting to manually rotate the peg while the bike is not in motion.
Final Thoughts on Replacement
Replacing BMX pegs can feel daunting, but by following these steps, the process becomes much simpler. It’s important to have the right tools readily available and to regularly inspect your BMX pegs for signs of wear and tear. This practice not only improves your bike’s performance but also keeps you safe during those thrilling stunts.
Exploring Different Types of BMX Pegs
When exploring BMX pegs, you’ll discover that they come in various materials and sizes. These differences are important to consider as they will help you find the best fit for your style and requirements.
Material Difference
BMX pegs are primarily made from two main materials: Steel and Aluminum. Steel pegs are known for their durability and are ideal for heavy-duty tricks and rough riding, but they can be heavier in weight. On the other hand, Aluminum pegs are lighter, which makes them a popular choice for flatland and racing BMX models. Although not as durable as steel, they offer a unique combination of lightweight performance and good grind speed.
Size Variations
BMX pegs are available in various sizes, with different lengths and diameters that cater to specific types of BMX riding. Longer pegs offer more surface area for performing tricks and stunts, while shorter ones reduce weight and provide easier control. The diameter of the pegs also influences stability and the ease of executing certain tricks.
Threaded vs. Non-threaded
Another important consideration when choosing pegs is whether they have threads or not. Threaded pegs can be screwed onto the bike’s axle, providing a secure grip that is less likely to slip during tricks. On the other hand, non-threaded pegs slide onto the axle and are held in place with bolts. While they may be slightly more difficult to install, they offer a cleaner aesthetic appearance.
Choosing the right BMX peg to enhance your freestyle or racing experience requires careful consideration. Factors like riding style, skill level, personal preference, and compatibility with the BMX bike model all play a crucial role in making an informed decision.
Installing BMX Pegs on Different Types of Bikes
Installing BMX pegs requires an understanding that different bikes have varying requirements. The installation process may differ slightly depending on the type of bike you own. We will primarily discuss three common types: street bikes, freestyle bikes, and racing bikes.
Street Bikes
Street BMX bikes are designed to withstand the challenges of urban environments, such as jumping off sidewalks or performing tricks on staircase rails. Because of these demands, having pegs on a street bike is practically necessary. It’s usually easy to install pegs on street bikes since most bikes in this category come with built-in peg holes. Just make sure to align them properly and fasten them securely for optimal performance and safety. Always remember to tighten them securely!
Freestyle Bikes
Pegs are a valuable accessory for freestyle bikes, particularly when performing stunts and tricks in skate parks or dirt jump environments. These bikes often require pegs to execute certain maneuvers. If your freestyle bike doesn’t have built-in peg holes, don’t worry. You have the option of using an adapter that attaches onto your axle to accommodate pegs.
Racing Bikes
Pegs are not typically used on racing BMX bikes because these bikes prioritize speed and weight optimization. However, if you’re someone who enjoys challenging norms and breaking conventions, it is possible to install pegs on a racing bike. Just make sure to choose lightweight pegs to avoid adding excessive weight. Additionally, check if your bike has peg holes or if you’ll need an adapter for installation.
To install BMX pegs, the general steps are similar for all bike types, but keep in mind that your specific bike features might influence the process. It’s crucial to prioritize careful alignment and complete security of the pegs to ensure a successful installation and your safety when riding your BMX bike.
FAQs
Like any modification or customization process, installing BMX pegs can raise several common questions. To ensure a smooth installation journey, we’ve compiled answers to the most frequently asked questions about this process:
Are BMX pegs compatible with all BMX bikes?
In general, yes. However, there may be compatibility issues with older or specialized bike models. To ensure compatibility, it is best to check the specifications of your bike and the pegs you plan on buying.
Can I install BMX pegs on a bike with a coaster brake?
Yes, you can install BMX pegs on a bike with a coaster brake. However, it may require additional modifications because the coaster brake hardware could interfere with the placement of the pegs.
What tools do I need to install BMX pegs?
For most installations, you’ll just need a wrench or socket set that matches the size of your bike’s axle nuts. Some pegs might also require an Allen key for installation.
The size of pegs you choose depends on your riding style and personal preference. If you’re into technical tricks, shorter and lighter pegs tend to work best. On the other hand, if your focus is on grinds and stalls, longer and heavier pegs are usually more suitable.
Are there different types of BMX pegs available?
Yes, definitely! BMX pegs are available in a variety of materials, lengths, and diameters. You can also find both threaded and non-threaded options in the market.
Can I install BMX pegs on a bike with a gyro system?
Yes, you can use the pegs with the gyro system. However, it’s important to ensure that the gyro system won’t be obstructed by the pegs. If you’re unsure about how to proceed, it would be best to seek advice from a professional.
Is it difficult to install BMX pegs?
Absolutely! Installing BMX pegs is a simple and straightforward process that even beginners can handle with the right tools and instructions.
Can I install BMX pegs on a bike with front suspension?
Adding pegs to front suspension forks is generally not recommended, as these forks are typically not designed for that purpose.
Conclusions
To summarize, adding BMX pegs to your bike is a simple and straightforward process that only requires a few basic tools and some knowledge. Each step, from choosing the right pegs to actually installing them, is important and should be done carefully. The ultimate objective is to securely attach the pegs so they function properly, ultimately enhancing your biking experience.
Please note that different bikes may have varying compatibility with different types of pegs. Therefore, it is essential to conduct some research to determine the best option for your specific make and model. Additionally, while certain bikes come with built-in features facilitating easy peg installation, others may require a bit more effort or additional resources. However, armed with the appropriate tools, suitable pegs, and a positive mindset, you can successfully complete this task on your own and customize your bike according to your preferences.
RephraseFinally, whether you’re a beginner cyclist or an experienced BMX enthusiast, attaching pegs to your bike can enhance its versatility. They enable you to execute tricks, slides, and even add a stylish touch to your ride. So why wait? Install those BMX pegs and embrace the exhilarating joy of BMX biking that countless riders worldwide find so thrilling.